Showing posts with label bread. Show all posts

Wednesday, September 21, 2011

Monkey Bread

I saw this monkey muffin recipe on The Pioneer Woman's blog the other day and was just about to give them a try when I remembered a monkey bread recipe I have been carting around for years. I originally got the recipe from Lyn Aro of Zim, Minnesota when I was about 15 or 16 years old. She would make it for the after church goodies and conversation in the church basement. I have many fond memories of looking forward to her Sundays for hosting so I could dig into this gooey goodness. She told me it was super easy to make, turns out she was right.

Speaking of Lyn, she was also the person who encouraged me to take a job at the local living history museum. This was the place where I eventually met my husband. I guess I owe quite a bit to this woman, a great recipe and a husband!

monkey3

I started with basic white dough made in the bread machine. Lyn's recipe calls for three cans of Pillsbury biscuits cut into quarters but it's not an item carried at our store.

monkey4

Pinch off small balls of dough. I probably should have made them about half this size but I didn't feel like "monkeying" around that much.

monkey5

Roll each ball in a cinnamon and sugar mixture.

monkey7

Place the cinnamon dough balls in a Bundt pan. If you have a silicone one like mine, there's no need to grease the pan. Otherwise, butter that baby well. My Minnesotan roots are coming out pretty strong here, church basements, Bundt pans, an excessive use of butter . . .

monkey2

Melt these two magical ingredients together in a sauce pan.

monkey1

Pour the caramel mixture over the top of the dough.
Bake at 350 for 35 to 40 minutes.

monkey8

Flip over and let the caramel drip down for a minute before removing the pan.

monkey9


It's surprisingly easy to eat with your hands, so dig right in. Monkey bread makes a great breakfast, snack, dessert or potluck dish.

Recipe can be found here.


~AnnMarie


Wednesday, September 14, 2011

Homemade Tortillas

It's hard to get tortillas in the bush, so Steve and I learned how to make our own.  I discovered the original recipe on the internet years ago, and, sadly, I've lost the link.  I remember that the website had some Spanish on it...Errrrr...but that's about it.  Luckily, I've committed the recipe to memory.  The following is for a double batch of tortillas (enough for four people plus leftovers) because we were having friends over.


DSC_0326

Start with six cups of flour.


DSC_0328

A little salt.  I know that's not very helpful.  I think I use about a teaspoon or so.


DSC_0331

Two tablespoons of baking powder.  Mix all the dry ingredients together.  I use my bread machine on the dough setting.


DSC_0333

Add one cup of shortening.

Note to readers: if you line the measuring cup with saran wrap, it will be easier to clean.  You're welcome.


Mix the shortening with the dry ingredients.  If you use your bread maker, this might happen:

DSC_0336

No problem.  Just use a wooden spoon to scrape the sides down.


DSC_0342

Keep mixing until it looks like the above picture (the shortening should be thoroughly mixed with the dry ingredients and forming into small clumps).


DSC_0348

Add two cups of warm water and mix together.  Knead (again, we use the bread maker on the dough setting).  The dough should be soft but not sticky.  I have provided the following pictures as guidance:


DSC_0353

Small clump of dough.


DSC_0355

Small clump of dough being squished.


DSC_0356

Small clump of dough retaining its shape after being squished.  If the dough is too sticky, add more flour.


DSC_0357

At this point, Steve and I like to put the dough in the refrigerator for a few hours, sometimes overnight.  We wrap it in saran wrap to keep it fresh.


DSC_0433

Steve is the expert tortilla maker.  I usually pass the dough off to him and let him work his magic.

He starts with a small ball of dough.

Note to readers: this is the point in the post where the photography will start to get a little sketchy.  Steve is a wonderful tortilla maker and husband, but he's not very patient for food photography...


DSC_0434

Then he smashes it in a tortilla press.  If you don't have a tortilla press, you can use a rolling pin.  It just takes longer.


DSC_0453

The raw tortilla after the first smashing.


DSC_0456

The tortilla is then moved to the second tortilla press, the electric one.


DSC_0435

It works the same as the other press,


DSC_0440

but it cooks the tortilla at the same time.  If you don't have an electric tortilla press, you can use a hot frying pan.  Flip the tortilla to cook it on both sides.  If the tortillas brown, you've cooked them too long, and they'll be hard and kind of crunchy (but, hey, if you're into that, go for it!).

Here's the recipe:


Double Batch of Tortillas

6 cups flour
1 teaspoonish salt
2 tablespoons baking powder
1 cup shortening
2 cups warm water

Mix the flour, salt, and baking powder.  Add the shortening and mix until it is thoroughly combined and forming into small clumps.  Add warm water.  Stir.  The dough should be soft but not sticky.  Knead.  Let dough sit in the refrigerator.  Form the dough into small balls.  Roll or smash the balls into hin circles.  Heat up a frying pan.  Cook on both sides.

Thursday, September 8, 2011

Nathan's Bread

Steve and I have a neighbor named Nathan.  He likes to play games with Steve.  He also likes to make yummy things for us to eat.  One of our favorites is his bread.  Because he's that kind of friend, he shared the recipe with us.  It works best to add the ingredients in the order shown.


DSC_0112

It starts with 1 and 1/2 cups of water (better if the water is warm; bad if the water is hot).


DSC_0114

Next add 2 tablespoons of butter (if Steve's making the bread, he uses margarine.  I always use real butter).


DSC_0130

2 teaspoons of salt.


DSC_0133

4 cups of flour.  I like to sneak in one cup of whole wheat flour.  It's healthier that way.


DSC_0137

2 tablespoons of dry milk and 2 tablespoons of sugar.


DSC_0147

2 and 1/4 teaspoons of yeast.  We buy the yeast in one pound bags at Sam's Club (it's super expensive in the village, so we like to have a year's supply).

Mix all the ingredients together.  Knead until smooth and elastic.  We use a bread machine on the dough setting.


DSC_0151

Shape the loaf and place it in a greased loaf pan.


DSC_0154

Let rise until double in size.


DSC_0158

Bake at 350 degrees for thirty minutes, or until the bread sounds hollow when thumped.  Rub butter over the top of the loaf when removed from the oven.  Remove from loaf pan, tip loaf on its side, and enjoy warm!

Here's the recipe all together for easy reference:

1 and 1/2 cups water
2 tablespoons butter
2 teaspoons salt
4 cups flour
2 tablespoons dry milk
2 tablespoons sugar
2 and 1/4 teaspoons yeast

Mix all the ingredients together.  Knead until smooth and elastic.  Shape the loaf and place it in a greased loaf pan.  Let rise until double in size.  Bake at 350 degrees for thirty minutes, or until the bread sounds hollow when thumped.  Rub butter over the top of the loaf when removed from the oven.  Remove from loaf pan, and tip loaf on its side.

Friday, September 2, 2011

Bread in Five Minutes a Day


No-knead bread started showing up on several of my favorite food blogs quite a while ago.  I've also been meaning to read this book (unfortunately, I'm a complete cheapskate, so the book has not been purchased).

I really loved the five-minutes-a-day idea because sometimes I can be kind of lazy when it comes to cooking (this is a problem because my husband thinks that tater-tot casserole, chili mac, and meatloaf count as "meals" (Hey Mom Alston!  Sorry you haven't won me over to the meatloaf loving way of life!  I still hate it but appreciate your conversion efforts!).  The basic premise of this philosophy is that you make a big batch of dough and use it daily/almost daily over the course of two weeks.   I settled on trying this recipe, which was recommended as a good starting place.  (You can also just have at it with a simple ratio, but I was lazy wasn't confident enough.)


DSC_0987

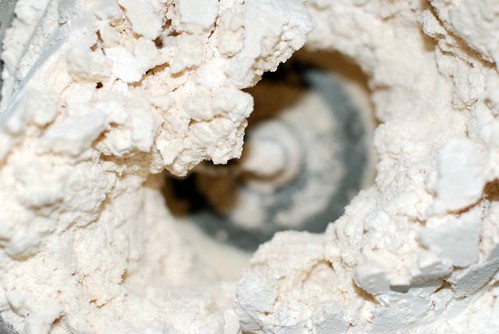
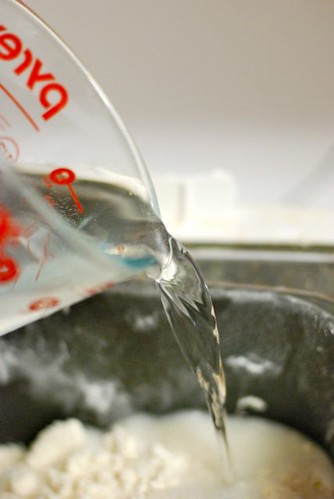
You begin by throwing all of the ingredients together.  (I use my KitchenAid because I heart it.) I doubled the recipe because I wanted enough for eight loaves instead of four.


DSC_0992

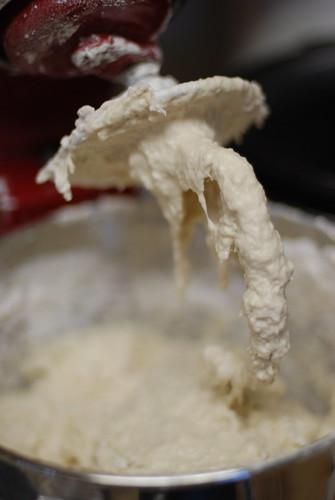
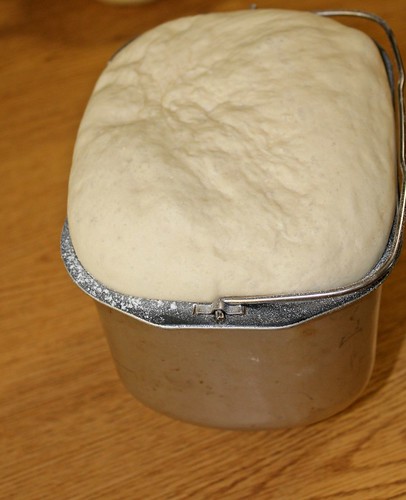
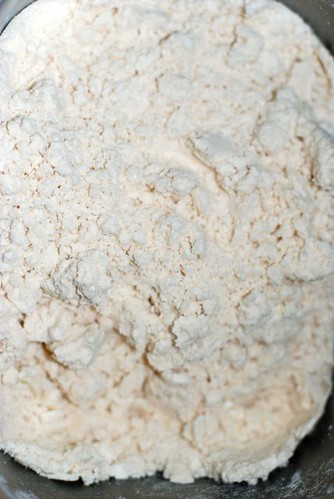
The dough will seem pretty runny, but that's okay.

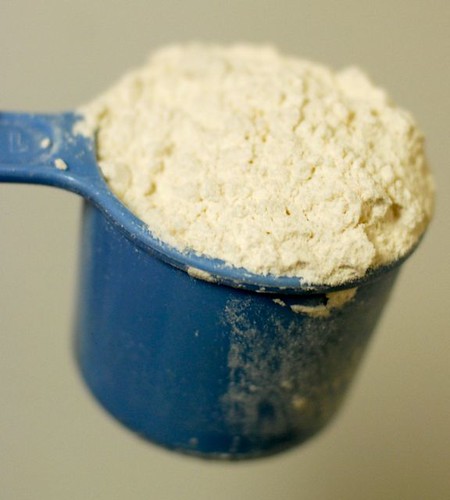
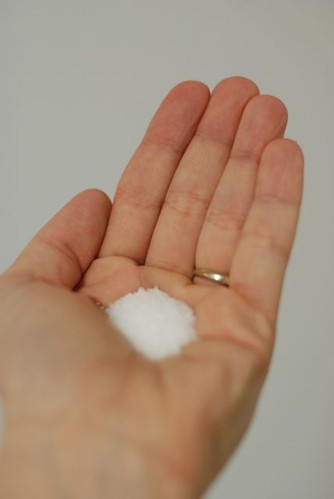
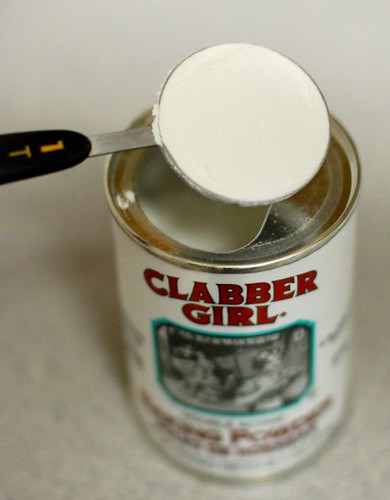
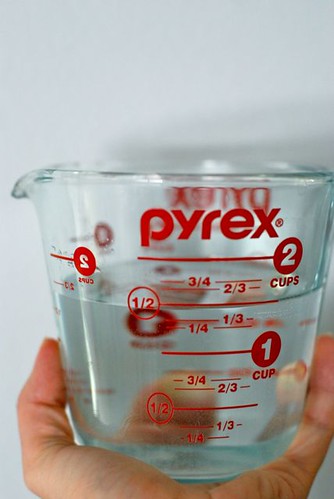
When you realize that you got confused and tripled the amount of salt, baking soda, and yeast, you need to go back and add more water and flour, thus making enough dough for twelve loaves.


DSC_0997


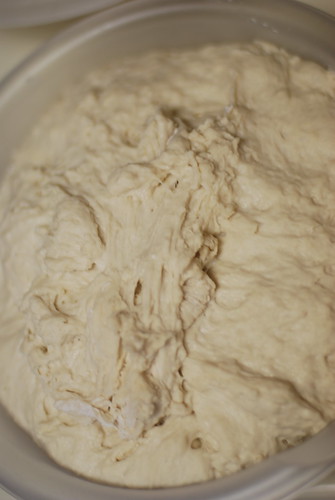
The dough needs to sit on the counter for a couple of hours.  If you want to be able to use your Kitchen Aid during the resting time, you should probably transfer the dough to another container.  If you had a momentary brain lapse and tripled the recipe because you were too lazy to use ratios, you will probably need to let the dough rest in two bowls...


DSC_0001

But, you should make sure that they are both big bowls.  Otherwise you will have an overflowing mess after two hours.


DSC_0002

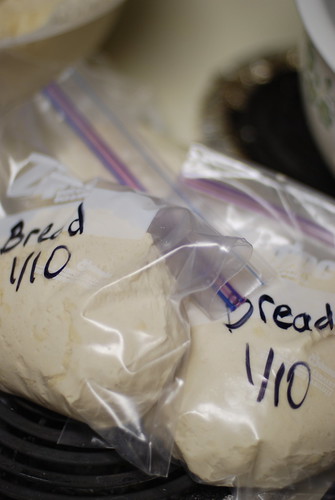
Feel free to use quick thinking and put some of the overflowed dough in a series of ziploc bags to freeze for use later.


DSC_0025

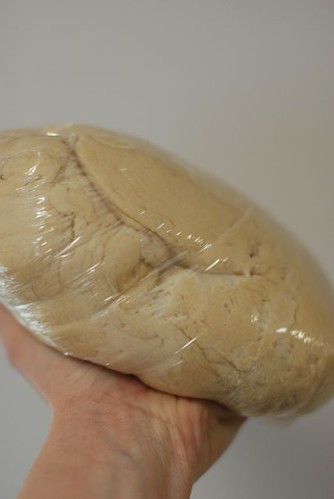
The rest of the dough can go in the fridge until your ready to use it.  Make sure the container isn't airtight.

Note to readers: Accidentally tripling a recipe and trying to force dough into containers that are too small can result in continued expansion in the fridge.  Be ready for it.

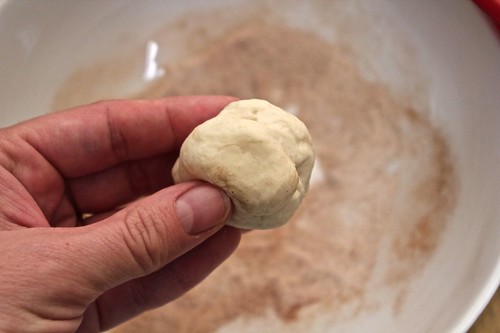
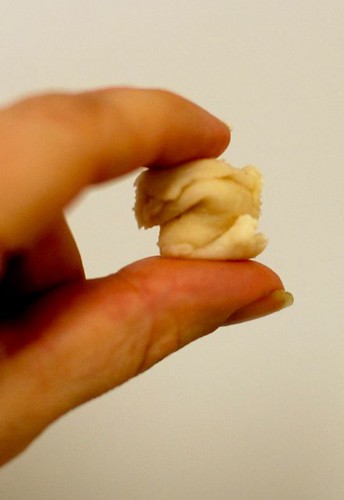
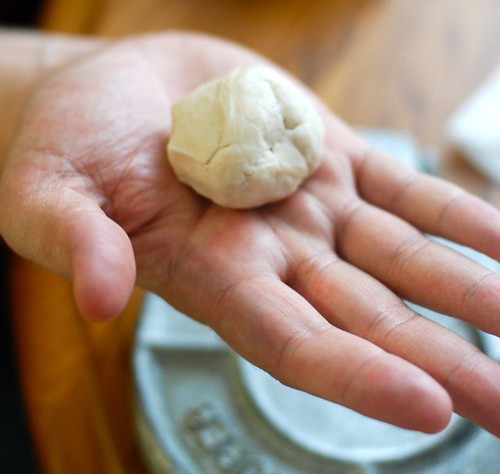
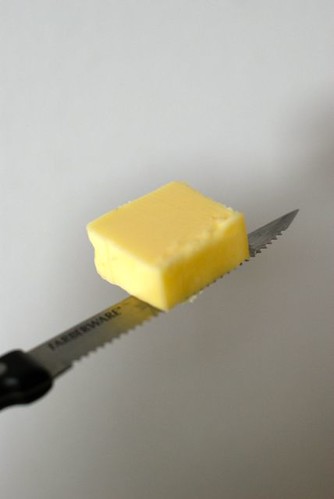
When you're ready to bake your bread, just pull off a chunk of the dough.

The recipe calls for a baking stone.  I do own a baking stone, but it's in storage in Seattle, along with all of my other real dishes, kitchen equipment, etc.  My wise colleague Denise (who functions as my pseudo-maternal advisor in Shishmaref- "Um, Denise, if I bring this oil over, will you smell it and tell me if it's gone rancid?  And then not judge me if it is?") suggested that I use a nice baking dish that would hold the heat evenly.


DSC_0955

I do own a nice baking dish.  I bought it in Paraguay.  Steve made fun of me for carrying it all the way back into the U.S. and up to Alaska.

Note to readers: A small baking dish is nothing (in size or inconvenience) compared to the berimbau he brought back.


DSC_0947

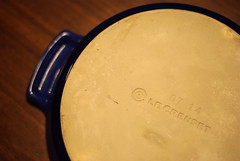
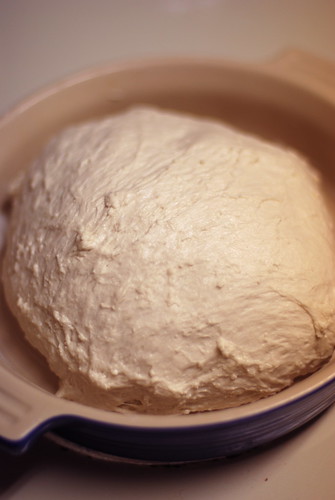
For those of you kitchen snobs, it is a Le Creuset baking dish.  It is the only Le Creuset piece I own at this time.  Steve has been warned that someday I intend to own a lot more.


DSC_0962

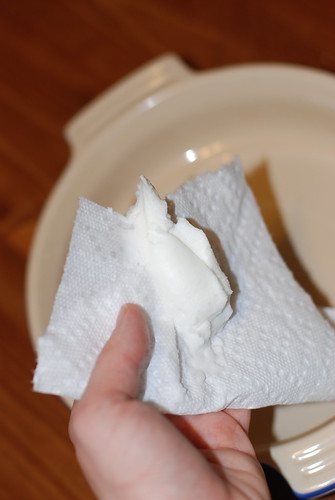
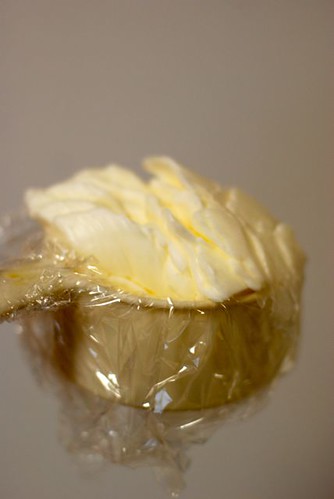
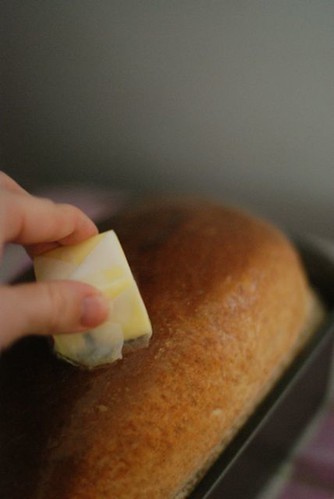
I greased the dish with shortening.

Note to readers: this shot is completely staged.  It turns out that I'm too uncoordinated to operate my camera or grease a pan with my left hand.  I had to settle for holding-the-paper-towel-with-shortening-on-it with my left hand and operating my camera with the right.


DSC_0964

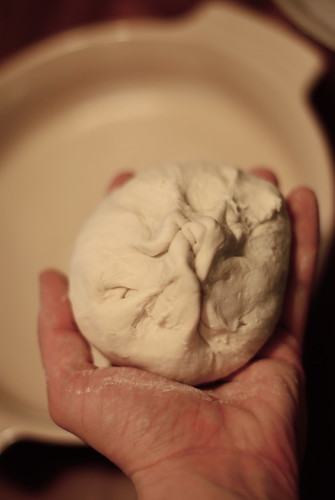
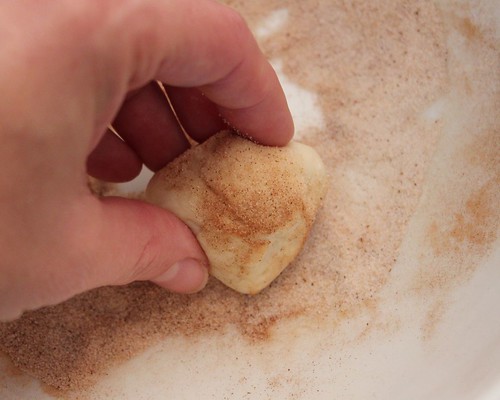
Shape the dough into a ball and tuck all the edges underneath so that the top is smoothish.  (This ball of dough will magically grow in the next few shots.  Do not be alarmed.  It is just a different batch of bread.  VFN's Creative Cooking shows are not always shot in real time...)

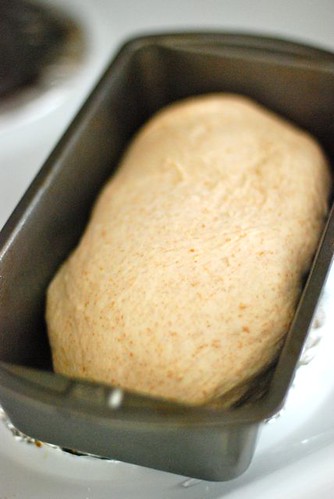
Apparently, you can also shape the dough into sandwich loaves, but that technique hasn't been botched tried in VFN's test kitchens.


DSC_0029

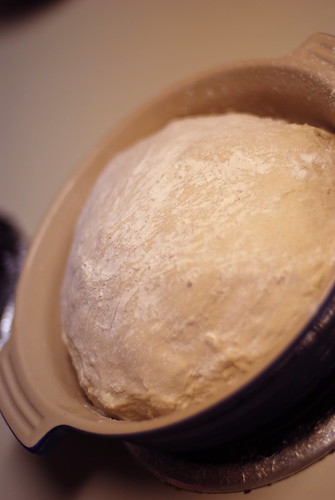
Let the dough sit for forty minutes.  Preheat the oven at 450 sometime during this resting period.


DSC_0036

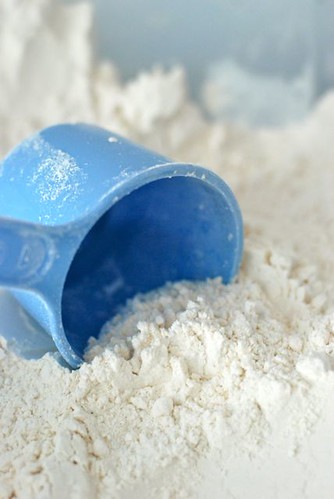
Sprinkle the loaf, or boule, with flour...


DSC_0038

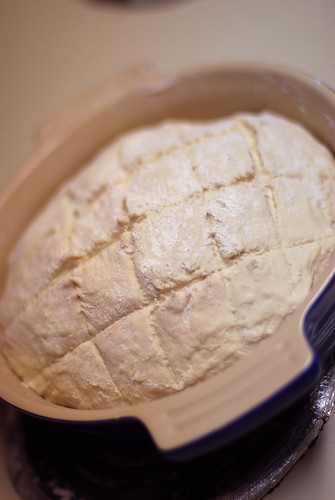
and slice any design that makes your heart happy.

If you're really brave, you can bake the bread over a dish of water.  Maybe you can avoid using a glass dish.


DSC_0064

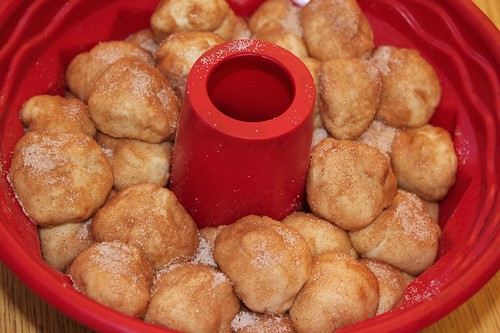
The final product has been greatly enjoyed in the Alaska Alston household.